The HONC stack - an acronym for Hono, ORM (Drizzle), Neon, and Cloudflare - is a modern toolkit for building lightweight, type-safe, and edge-enabled data APIs. It's designed for developers seeking to build fast, serverless applications with a strong emphasis on scalability and a great developer experience.
This guide will walk you through building a simple Task management API using the HONC stack. You'll learn how to:
- Initialize a HONC project using
create-honc-app. - Define your database schema with Drizzle ORM.
- Use Neon as your serverless Postgres database.
- Create API endpoints using the Hono framework.
- Run your application locally and deploy it to Cloudflare Workers.
- Utilize the built-in Fiberplane API playground for easy testing.
By the end, you'll have a functional serverless API and a solid understanding of how the HONC components work together.
Prerequisites
Before you begin, ensure you have the following:
- Node.js: Version
22.15or later installed on your machine. You can download it from nodejs.org. - Neon account: A free Neon account. If you don't have one, sign up at Neon.
- Cloudflare account: A free Cloudflare account, which you'll need for deployment. Sign up at Cloudflare.
Initialize your HONC project
The easiest way to start a HONC project is by using the
create-honc-appCLI tool.-
Open your terminal and run the following command:
npm create honc-app@latestNode.js version
Use Node.js version
22.15or later. Older versions may cause project initialization issues. Check your version with:node -v -
The CLI will guide you through the setup process. Here's an example interaction:
npm create honc-app@latest

> npx
> create-honc-app

 __  __     ______     __   __     ______
/\ \_\ \   /\  __ \   /\ "-.\ \   /\  ___\
\ \  __ \  \ \ \/\ \  \ \ \-.  \  \ \ \____
 \ \_\ \_\  \ \_____\  \ \_\\"\_\  \ \_____\
  \/_/\/_/   \/_____/   \/_/ \/_/   \/_____/


┌  🪿 create-honc-app
│
◇  Where should we create your project? (./relative-path)
│  ./honc-task-api
│
◇  Which template do you want to use?
│  Neon template
│
◇  Do you need an OpenAPI spec?
│  Yes
│
◇  The selected template uses Neon, do you want the create-honc-app to set up the connection string for you?
│  Yes
│
◇  Do you want to install dependencies?
│  Yes
│
◇  Do you want to initialize a git repository and stage all the files?
│  Yes
|
◆  Template set up successfully
│
◇  Setting up Neon:
│
│  In order to connect to your database project and retrieve the connection key, you'll need to authenticate with Neon.
│
│  The connection URI will be written to your .dev.vars file as DATABASE_URL. The token itself will *NOT* be stored anywhere after this session is complete.
│
◇  Awaiting authentication in web browser. Auth URL:
│
│  https://oauth2.neon.tech/oauth2/auth?response_type=code&client_id=create-honc-app&state=[...]&scope=[...]&redirect_uri=[...]&code_challenge=[...]&code_challenge_method=S256
│
◆  Neon authentication successful
│
◇  Select a Neon project to use:
│  Create a new project
│
◇  What is the name of the project?
│  honc-task-api
│
◆  Project created successfully: honc-task-api on branch: main
│
◇  Select a project branch to use:
│  main
│
◇  Select a database you want to connect to:
│  neondb
│
◇  Select which role to use to connect to the database:
│  neondb_owner
│
◇  Writing connection string to .dev.vars file
│
◆  Neon connection string written to .dev.vars file
│
◆  Dependencies installed successfully
│
◆  Git repository initialized and files staged successfully
│
└  🪿 HONC app created successfully in ./honc-task-api!
Here's a breakdown of the options:
- Where to create your project: Specify the directory for your new project. Here, we used
./honc-task-api. - Template: Choose the Neon template for this guide.
- OpenAPI spec: Opt-in to generate an OpenAPI spec for your API.
- Neon connection string: Allow the CLI to set up the connection string for you.
- Install dependencies: Yes, to install the required packages.
- Git repository: Yes, to initialize a git repository and stage all files.
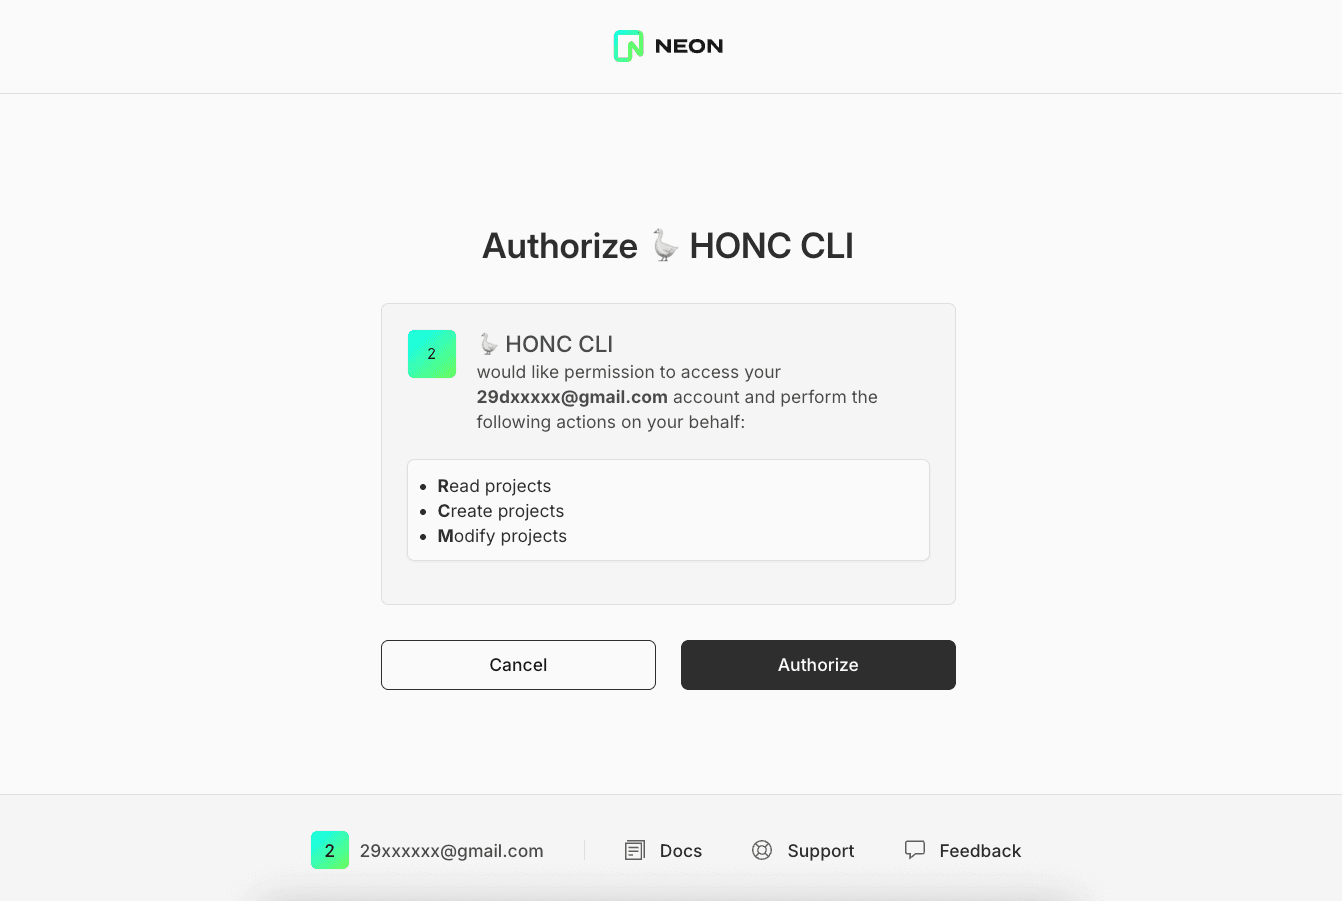
- Neon authentication: Follow the link to authenticate with Neon. This will allow the CLI to set up your database connection.
- Create a new project: Choose to create a new Neon project or use an existing one. Here, we created a new one.
- Project name: Provide a name for your Neon project (e.g.,
honc-task-api) if creating a new one. - Project branch: Select the main branch for your Neon project.
- Database: Choose the default database (e.g.,
neondb). - Role: Select the
neondb_ownerrole for database access. - Connection string: The CLI will write the connection string to a
.dev.varsfile in your project directory. - Setup: The CLI will set up the project, install dependencies, and initialize a git repository.
- Where to create your project: Specify the directory for your new project. Here, we used
-
Navigate into your new project directory.
cd honc-task-api -
Open the project in your favorite code editor.
-
Confirm Neon connection
If you chose to let
create-honc-appset up the connection string, your NeonDATABASE_URLshould already be in the.dev.varsfile in your project root. This file is used by Wrangler (Cloudflare's CLI) for local development and is gitignored by default.Verify its content:
// .dev.vars
DATABASE_URL="postgresql://neondb_owner:..."
If you didn't use the CLI for setup, copy
.dev.vars.exampleto.dev.vars. Then, manually add your Neon project'sDATABASE_URLto the.dev.varsfile. You can find your connection string in the Neon console. Learn more: Connect from any applicationDefine database schema with Drizzle
The
create-honc-apptemplate comes with an example schema (forusers) insrc/db/schema.ts. You need to modify this to define ataskstable.-
Open
src/db/schema.ts. Remove the existingusersschema definition. Add the following schema definition fortasks:import { pgTable, serial, text, boolean, timestamp } from 'drizzle-orm/pg-core'; export type NewUser = typeof users.$inferInsert; export const users = pgTable('users', { id: uuid('id').defaultRandom().primaryKey(), name: text('name').notNull(), email: text('email').notNull(), settings: jsonb('settings'), createdAt: timestamp('created_at').defaultNow().notNull(), updatedAt: timestamp('updated_at').defaultNow().notNull(), }); export const tasks = pgTable('tasks', { id: serial('id').primaryKey(), title: text('title').notNull(), description: text('description'), completed: boolean('completed').default(false).notNull(), createdAt: timestamp('created_at').defaultNow().notNull(), updatedAt: timestamp('updated_at').defaultNow().notNull(), }); export type Task = typeof tasks.$inferSelect; export type NewTask = typeof tasks.$inferInsert;The tasks table schema defines the structure for storing tasks. It includes:
- A unique, auto-incrementing integer
id. titleanddescriptionfields.- A
completedstatus. createdAtandupdatedAttimestamps to track creation and modification times.
For type safety when interacting with tasks (e.g., selecting or inserting),
TaskandNewTasktypes are exported. These types are inferred from the schema and can be used throughout the application. - A unique, auto-incrementing integer
-
Generate and apply database migrations
With the schema updated, generate and apply database migrations.
-
Generate migrations:
npm run db:generateThis creates SQL migration files in the
drizzlefolder. -
Apply migrations:
npm run db:migrateThis applies the migrations to your Neon database. Your
taskstable should now exist. You can verify this in the Tables section of your Neon project console.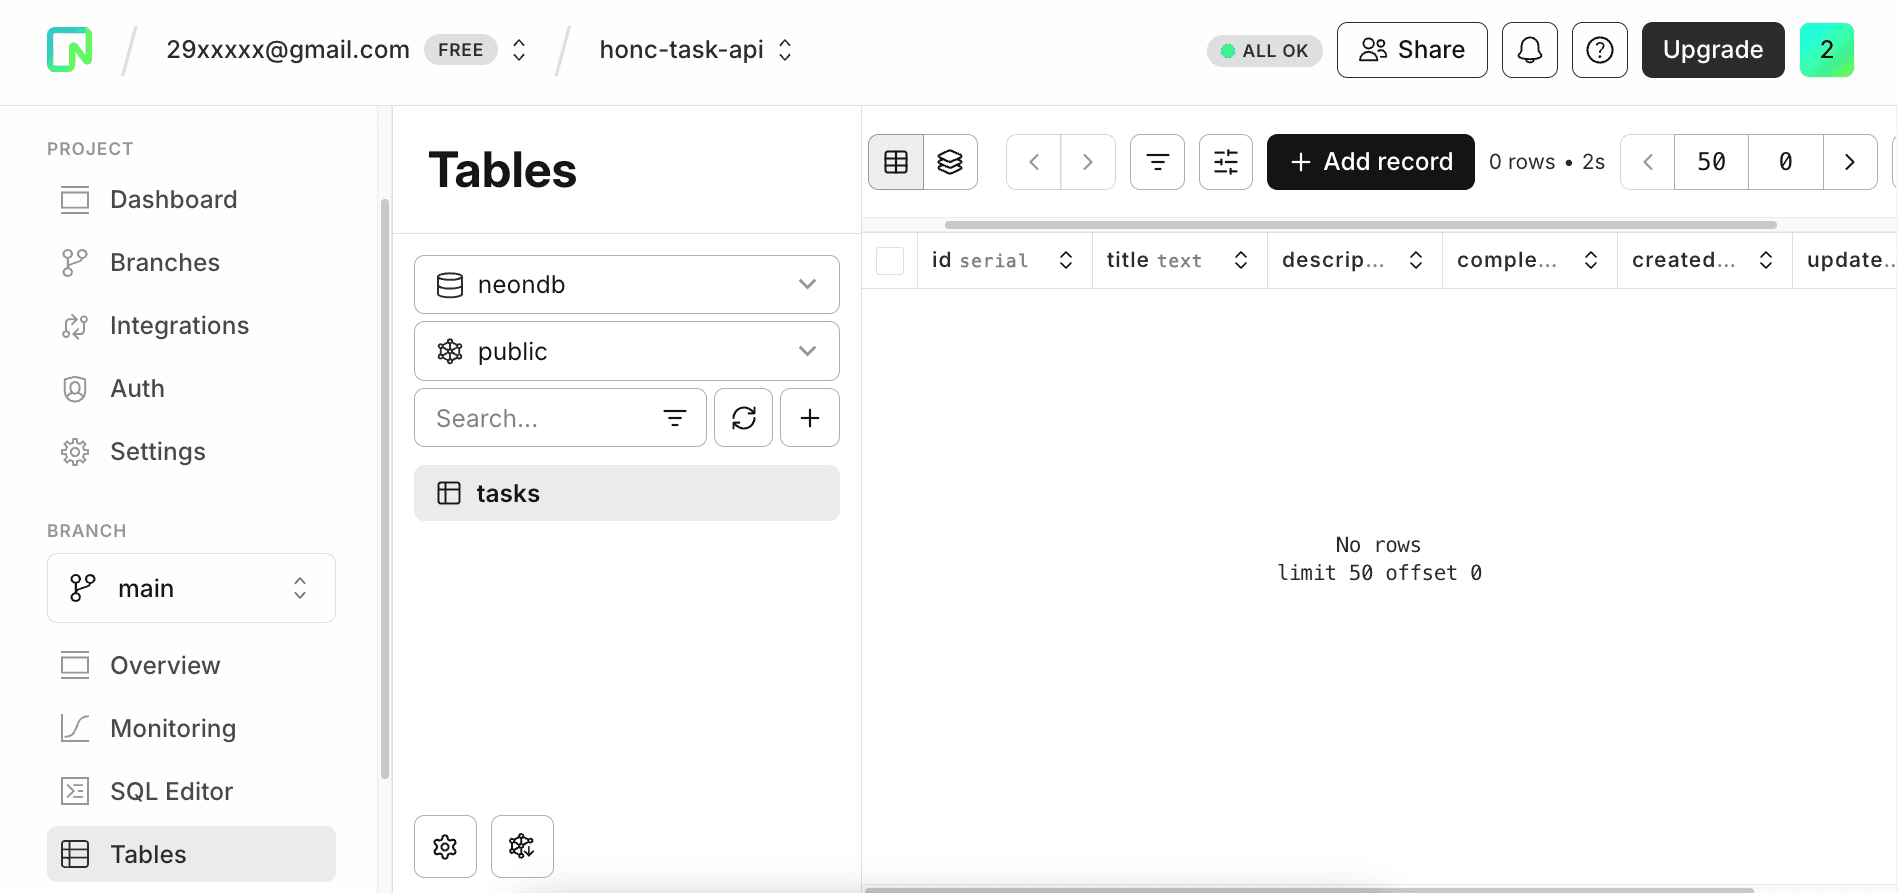
-
Adapt API endpoints for tasks
The
src/index.tsfile generated bycreate-honc-appwill contain Hono routes and Zod schemas for a sampleusersAPI. You need to adapt this foundation to create a RESTful API for managing ourtasks. This involves defining how clients can interact with our tasks data through standard HTTP methods (GET,POST,PUT,DELETE).-
Open
src/index.ts. You'll see code withUserSchema, anapiRouterinstance for/api/users, Zod validators, anddescribeRoutefor OpenAPI documentation. -
Modify Zod schemas: First, define the expected structure of task data for API requests and responses using Zod. This ensures type safety and provides a clear contract. Find the existing
UserSchemaand related definitions and replace them with schemas forTask(how a task looks when retrieved) andNewTask(how a new task looks when being created).// ... import statements and middleware for database connection const UserSchema = z .object({ id: z.number().openapi({ example: 1, }), name: z.string().openapi({ example: 'Nikita', }), email: z.string().email().openapi({ example: 'nikita@neon.tech', }), }) .openapi({ ref: 'User' }); const TaskSchema = z .object({ id: z.string().openapi({ description: 'The unique identifier for the task.', example: '1', }), title: z.string().openapi({ description: 'The title of the task.', example: 'Learn HONC', }), description: z.string().nullable().optional().openapi({ description: 'A detailed description of the task.', example: 'Build a complete task API with the HONC Stack', }), completed: z.boolean().openapi({ description: 'Indicates if the task is completed.', example: false, }), createdAt: z.string().datetime().openapi({ description: 'The date and time when the task was created.', example: new Date().toISOString(), }), updatedAt: z.string().datetime().openapi({ description: 'The date and time when the task was last updated.', example: new Date().toISOString(), }), }) .openapi({ ref: 'Task' }); const NewTaskSchema = z .object({ title: z.string().min(1, 'Title cannot be empty').openapi({ example: 'Deploy to Cloudflare', }), description: z.string().nullable().optional().openapi({ example: 'Finalize deployment steps for the task API.', }), }) .openapi({ ref: 'NewTask' });Here's a breakdown of the Zod schemas:
TaskSchemadefines the full structure of a task for API responses.NewTaskSchemadefines the structure for creating a new task.- The
.openapi({ ref: "..." })annotations are used to generate OpenAPI documentation.
-
Adapt API router: The
apiRoutergroups related routes. We'll modify the one for/api/usersto handle/api/tasks.-
Locate where
app.routeis defined for/api/usersand change it to/api/tasks:app .get( "/", describeRoute({...}) ) .route("/api/users", apiRouter); .route("/api/tasks", apiRouter); -
Inside
apiRouter, modify the CRUD operations. For each route:describeRouteadds OpenAPI documentation.zValidatorvalidates request parameters or JSON bodies.- The
asynchandler interacts with the database via Drizzle.
Here's the adapted
apiRoutercode for tasks with CRUD operations:// In src/index.ts, adapt the apiRouter for tasks const apiRouter = new Hono<{ Bindings: Bindings; Variables: Variables }>(); apiRouter .get( "/", describeRoute({...}) ) .post( "/", describeRoute({...}), zValidator( "json", // ... Zod schema for POST (users) ... ) ) .get( "/:id", describeRoute({...}), zValidator( "param", // ... Zod schema for GET by ID (users) ... ) ); apiRouter .get( "/", describeRoute({ summary: "List all tasks", description: "Retrieves a list of all tasks, ordered by creation date.", responses: { 200: { content: { "application/json": { schema: resolver(z.array(TaskSchema)) }, }, description: "Tasks fetched successfully", }, }, }), async (c) => { const db = c.get("db"); const tasks = await db .select() .from(schema.tasks) .orderBy(desc(schema.tasks.createdAt)); return c.json(tasks, 200); }, ) .post( "/", describeRoute({ summary: "Create a new task", description: "Adds a new task to the list.", responses: { 201: { content: { "application/json": { schema: resolver(TaskSchema), }, }, description: "Task created successfully", }, 400: { description: "Invalid input for task creation", }, }, }), zValidator("json", NewTaskSchema), async (c) => { const db = c.get("db"); const { title, description } = c.req.valid("json"); const newTaskPayload: schema.NewTask = { title, description: description || null, completed: false, }; const [insertedTask] = await db .insert(schema.tasks) .values(newTaskPayload) .returning(); return c.json(insertedTask, 201); }, ) .get( "/:id", describeRoute({ summary: "Get a single task by ID", responses: { 200: { content: { "application/json": { schema: resolver(TaskSchema) } }, description: "Task fetched successfully", }, 404: { description: "Task not found" }, 400: { description: "Invalid ID format" }, }, }), zValidator( "param", z.object({ id: z.string().openapi({ param: { name: "id", in: "path" }, example: "1", description: "The ID of the task to retrieve", }), }), ), async (c) => { const db = c.get("db"); const { id } = c.req.valid("param"); const [task] = await db .select() .from(schema.tasks) .where(eq(schema.tasks.id, Number(id))); if (!task) { return c.json({ error: "Task not found" }, 404); } return c.json(task, 200); }, ) .put( "/:id", describeRoute({ summary: "Update a task's completion status", description: "Toggles or sets the completion status of a specific task.", responses: { 200: { content: { "application/json": { schema: resolver(TaskSchema) } }, description: "Task updated successfully", }, 404: { description: "Task not found" }, 400: { description: "Invalid input or ID format" }, }, }), zValidator( "param", z.object({ id: z.string().openapi({ param: { name: "id", in: "path" }, example: "1", description: "The ID of the task to update.", }), }), ), zValidator( "json", z .object({ completed: z.boolean().openapi({ example: true, description: "The new completion status of the task.", }), }) ), async (c) => { const db = c.get("db"); const { id } = c.req.valid("param"); const { completed } = c.req.valid("json"); const [updatedTask] = await db .update(schema.tasks) .set({ updatedAt: sql`NOW()`, completed }) .where(eq(schema.tasks.id, Number(id))) .returning(); if (!updatedTask) { return c.json({ error: "Task not found" }, 404); } return c.json(updatedTask, 200); }, ) .delete( "/:id", describeRoute({ summary: "Delete a task", description: "Removes a specific task from the list.", responses: { 200: { content: { "application/json": { schema: resolver( z.object({ message: z.string(), id: z.string() }), ), }, }, description: "Task deleted successfully", }, 404: { description: "Task not found" }, 400: { description: "Invalid ID format" }, }, }), zValidator( "param", z.object({ id: z.string().openapi({ param: { name: "id", in: "path" }, example: "1", description: "The ID of the task to delete.", }), }), ), async (c) => { const db = c.get("db"); const { id } = c.req.valid("param"); const [deletedTask] = await db .delete(schema.tasks) .where(eq(schema.tasks.id, Number(id))) .returning({ id: schema.tasks.id }); if (!deletedTask) { return c.json({ error: "Task not found" }, 404); } return c.json( { message: "Task deleted successfully", id: deletedTask.id }, 200, ); }, );Breakdown of the API endpoints:
GET /(List tasks): Fetches all tasks from theschema.taskstable usingdb.select(). It orders them bycreatedAtin descending order so newer tasks appear first. The response is a JSON array ofTaskSchemaobjects.POST /(Create task):- Validates the incoming JSON request body against
NewTaskSchema(requirestitle,descriptionis optional). - If valid, it constructs a
newTaskPayload(settingcompletedtofalseby default). - Inserts the new task into
schema.tasksusingdb.insert().values().returning()to get the newly created task (including its auto-generated ID and timestamps). - Returns the created task (matching
TaskSchema) with a201 Createdstatus.
- Validates the incoming JSON request body against
GET /:id(Get task by ID):- Fetches a single task from
schema.taskswhere theidmatches. - Returns the task if found, or a
404 Not Founderror.
- Fetches a single task from
PUT /:id(Update task):- Validates the
idpath parameter. - Validates the incoming JSON request body against
z.object({ completed: z.boolean() }). - Updates the task's
completedstatus andupdatedAttimestamp inschema.tasks.
- Validates the
DELETE /:id(Delete task):- Validates the
idpath parameter. - Deletes the task with the matching
idfromschema.tasks. - Returns a success message with the ID of the deleted task, or a
404 Not Found.
- Validates the
-
-
Run and test locally
Run your HONC application locally using Wrangler:
-
In your terminal, at the root of your project:
npm run devThis starts a local server, typically at
http://localhost:8787. -
Test your API endpoints: You can use tools like cURL, Postman, or the Fiberplane API Playground (see next section).
-
Create a task:
curl -X POST -H "Content-Type: application/json" -d '{"title":"Learn HONC","description":"Build a task API"}' http://localhost:8787/api/tasksA successful response should return the created task with a unique ID.
{
  "id": 1,
  "title": "Learn HONC",
  "description": "Build a task API",
  "completed": false,
  "createdAt": "2025-05-14T09:17:25.392Z",
  "updatedAt": "2025-05-14T09:17:25.392Z"
}
You can also verify if the task was added to your database by checking your project in the Neon console. The task should appear in the
taskstable.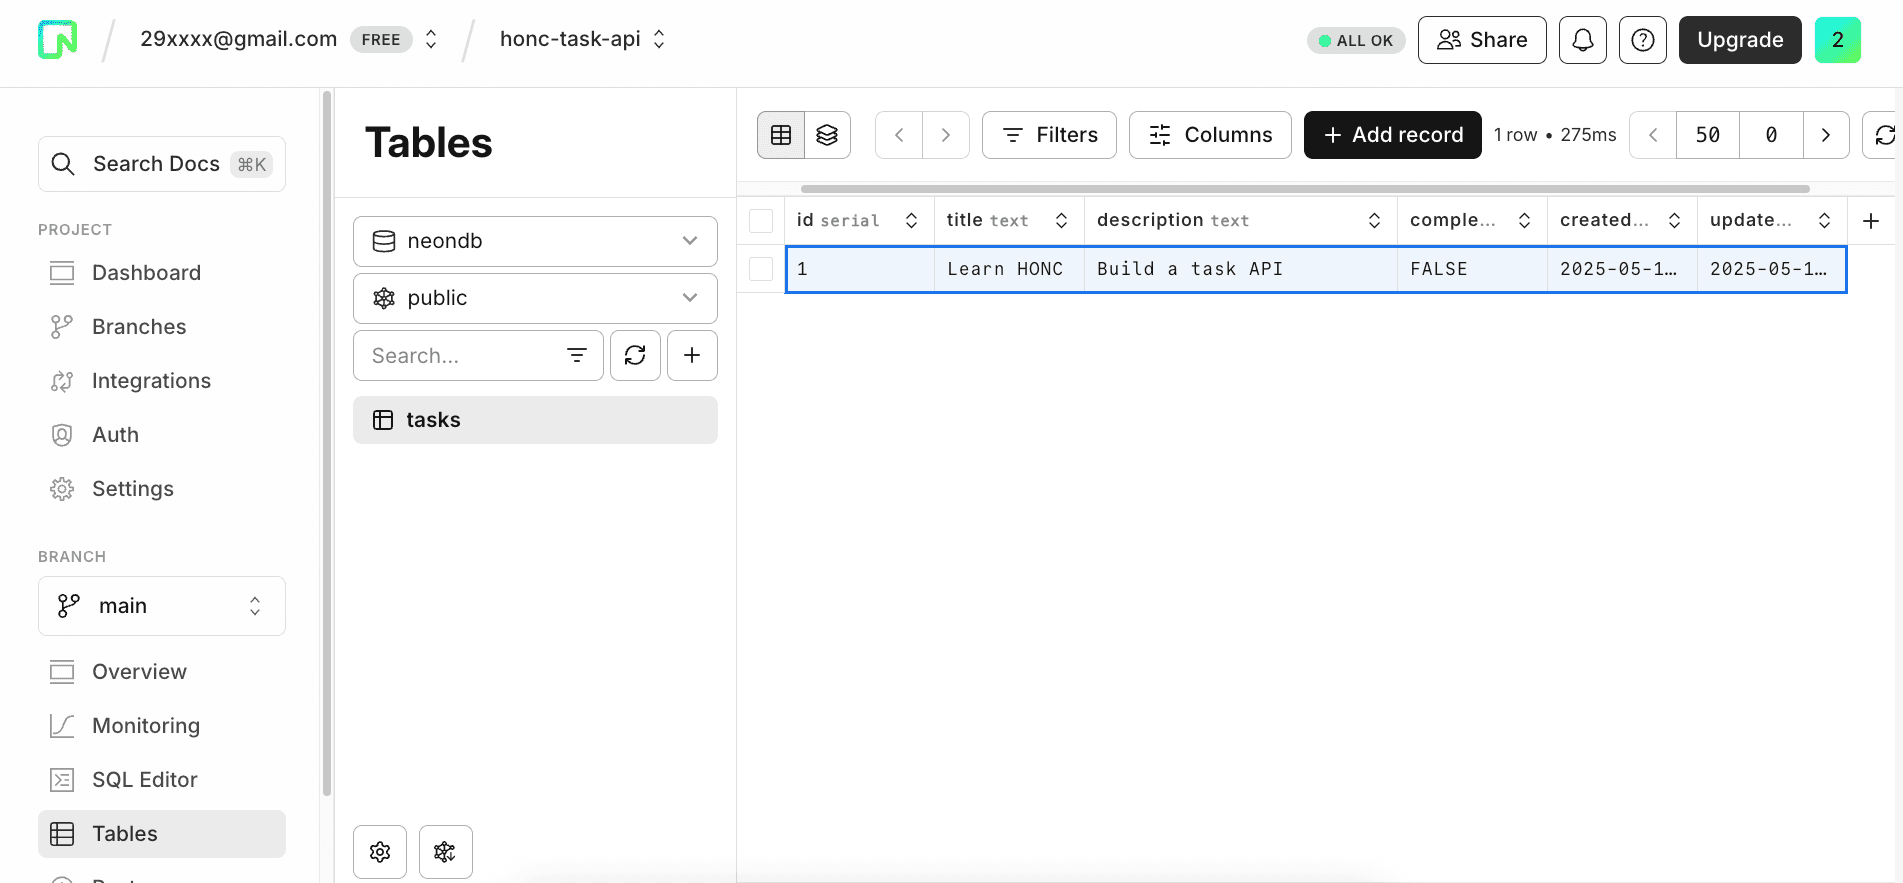
-
List all tasks:
curl http://localhost:8787/api/tasksA successful response should return an array of tasks.
[ { "id": 1, "title": "Learn HONC", "description": "Build a task API", "completed": false, "createdAt": "2025-05-14T09:17:25.392Z", "updatedAt": "2025-05-14T09:17:25.392Z" } ] -
Get a specific task (replace
TASK_IDwith an actual ID from the list):curl http://localhost:8787/api/tasks/TASK_IDFor example, if the ID is
1:curl http://localhost:8787/api/tasks/1A successful response should return the task with ID
1.{ "id": 1, "title": "Learn HONC", "description": "Build a task API", "completed": false, "createdAt": "2025-05-14T09:17:25.392Z", "updatedAt": "2025-05-14T09:17:25.392Z" } -
Update a task (replace
TASK_ID):curl -X PUT -H "Content-Type: application/json" -d '{"completed":true}' http://localhost:8787/api/tasks/TASK_IDFor example, if the ID is
1:curl -X PUT -H "Content-Type: application/json" -d '{"completed":true}' http://localhost:8787/api/tasks/1A successful response should return the updated task.
{ "id": 1, "title": "Learn HONC Stack", "description": "Build a task API", "completed": true, "createdAt": "2025-05-14T09:17:25.392Z", "updatedAt": "2025-05-14T09:17:25.392Z" } -
Delete a task (replace
TASK_ID):curl -X DELETE http://localhost:8787/api/tasks/TASK_IDFor example, if the ID is
1:curl -X DELETE http://localhost:8787/api/tasks/1A successful response should return a message confirming deletion.
{ "message": "Task deleted successfully", "id": 1 }
-
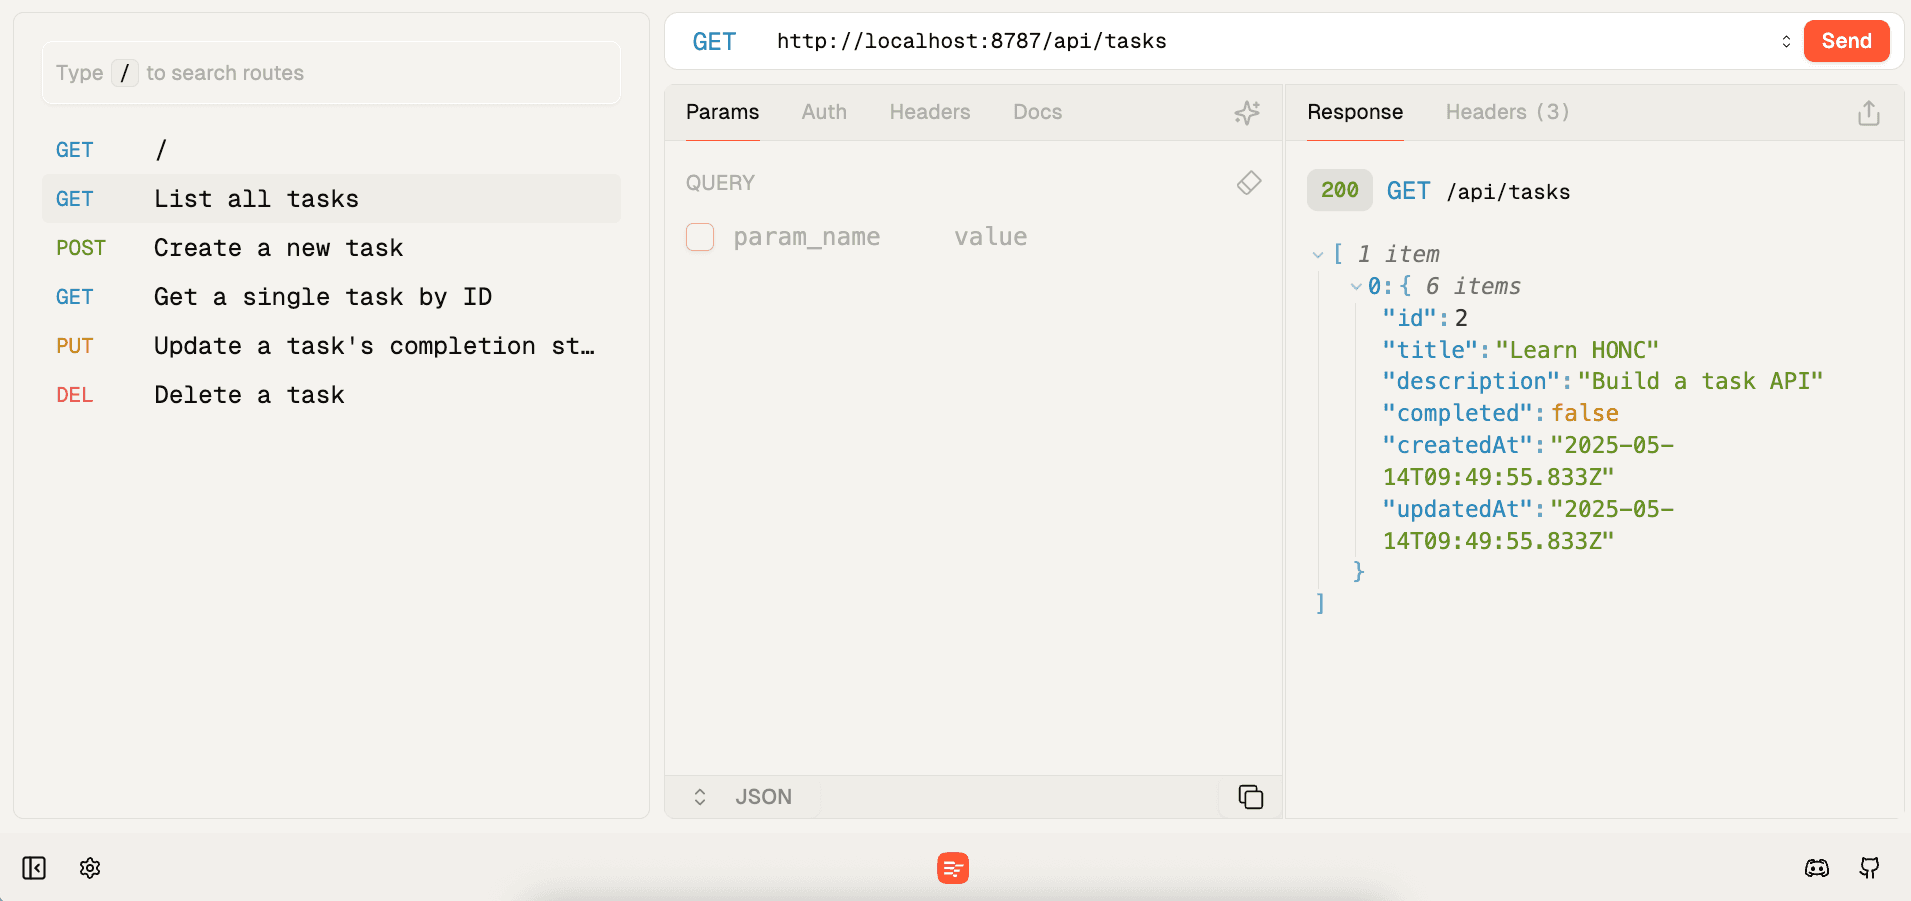
Interactive Testing with Fiberplane API Playground
The
create-honc-appboilerplate includes integration with the Fiberplane API Playground, an in-browser tool designed for interacting with your HONC API during development.To access it, simply ensure your local development server is running via
npm run dev. Once the server is active, open your web browser and navigate tolocalhost:8787/fp.Within the playground, you'll find a visual exploration of your API. It reads your
/openapi.jsonspec (generated byhono-openapiif enabled) to display all your defined API endpoints, such as/api/tasksor/api/tasks/{id}, within a user-friendly interface. This allows for easy request crafting; you can select an endpoint and fill in necessary parameters, path variables, and request bodies directly within the UI.This is incredibly useful for quick testing and debugging cycles during development, reducing the frequent need for external tools like Postman or cURL.
-
Deploy to Cloudflare Workers
Deploy your application globally via Cloudflare's edge network.
-
Set
DATABASE_URLsecret in Cloudflare: Your deployed Worker needs the Neon database connection string.npx wrangler secret put DATABASE_URLPaste your Neon connection string when prompted.
npx wrangler secret put DATABASE_URL
⛅️ wrangler 4.14.4
-------------------
✔ Enter a secret value: … ************************************************************************************************************************
🌀 Creating the secret for the Worker "honc-task-api"
✔ There doesn't seem to be a Worker called "honc-task-api". Do you want to create a new Worker with that name and add secrets to it? … yes
🌀 Creating new Worker "honc-task-api"...
✨ Success! Uploaded secret DATABASE_URL
Steps may vary based on your Cloudflare account and login status. Ensure you are logged in if prompted.
-
Deploy:
npm run deployWrangler will deploy your application to Cloudflare Workers. The output will show the deployment status and the URL of your deployed Worker.
npm run deploy
> deploy
> wrangler deploy --minify src/index.ts
⛅️ wrangler 4.14.4
-------------------
Total Upload: 505.17 KiB / gzip: 147.10 KiB
Worker Startup Time: 32 ms
No bindings found.
Uploaded honc-task-api (13.49 sec)
Deployed honc-task-api triggers (3.50 sec)
  https://honc-task-api.[xxx].workers.dev
Current Version ID: b0c90b17-f10a-4807-xxxx
-
Summary
Congratulations! You've successfully adapted the create-honc-app boilerplate to build a serverless Task API using the HONC stack. You've defined a schema with Drizzle, created Hono endpoints with Zod validation, tested locally using tools like cURL and the integrated Fiberplane API Playground, and learned how to deploy to Cloudflare Workers.
The HONC stack offers a streamlined, type-safe, and performant approach to building modern edge APIs.
You can find the source code for the application described in this guide on GitHub.
Resources
- HONC: honc.dev, create-honc-app GitHub
- Fiberplane API Playground: Hono-native API Playground, powered by OpenAPI, Features
- Hono: hono.dev
- Drizzle ORM: orm.drizzle.team
- Neon: neon.tech/docs
- Cloudflare Workers: developers.cloudflare.com/workers
Need help?
Join our Discord Server to ask questions or see what others are doing with Neon. For paid plan support options, see Support.